
Why Tools Matter
In calligraphy, your tools are not just instruments — they’re extensions of your artistic intent. From the texture of your paper to the flex of your nib, every element plays a role in shaping the final composition. Whether you’re a beginner or a seasoned calligrapher, understanding your materials will elevate your craft.
1. Pens and Nibs
The core of traditional calligraphy lies in the pen. But not all pens are created equal — the choice depends on the style you’re pursuing.
- Dip Pens: A favorite among traditionalists. These pens require you to dip the nib into ink manually, offering full control over pressure and line thickness. Ideal for copperplate, Spencerian, and Gothic styles.
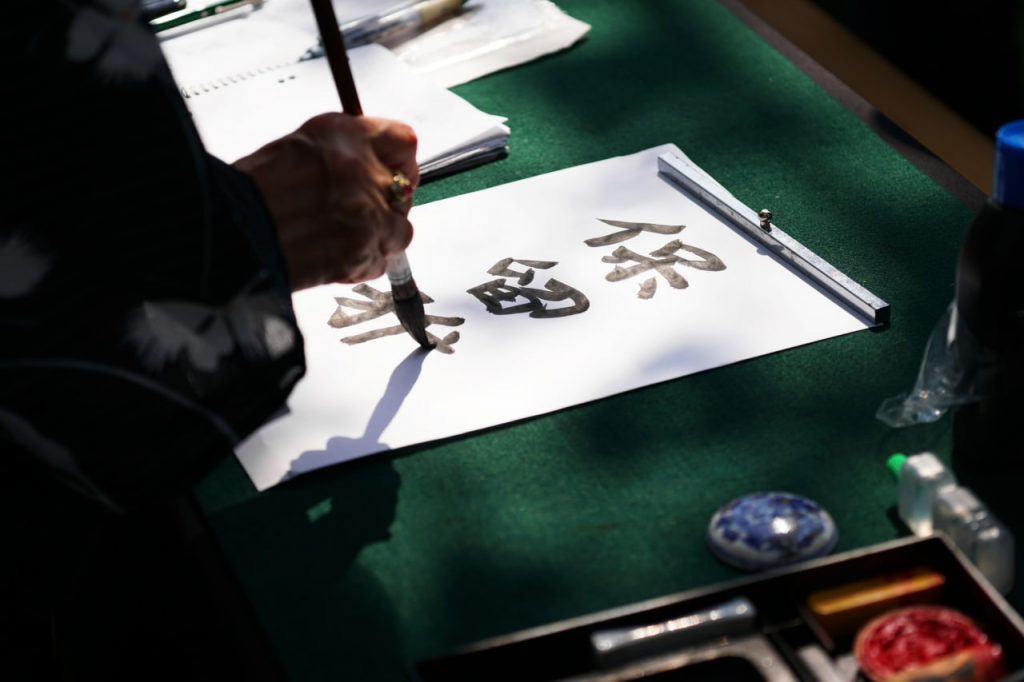
- Brush Pens: Inspired by Eastern traditions, brush pens offer fluidity and expression. They’re perfect for styles that require dynamic, sweeping strokes, such as Chinese and Japanese calligraphy.
- Fountain Pens with Calligraphy Nibs: A modern convenience for those who prefer less mess, but still want to practice italic or cursive scripts.
Each nib type — broad-edge, pointed, or brush — produces distinct line qualities. Experimenting with different nibs is essential to find the one that matches your hand and style.
2. Ink: The Life of the Letter
Not all ink is suitable for calligraphy. You’ll want to use pigment-based or iron gall inks, depending on your needs:
- Pigment Inks: Rich in color and lightfast, great for display work. They sit on top of the paper and offer high contrast.
- Iron Gall Ink: A historic choice, especially in Western calligraphy. It darkens over time and bonds with the paper fibers, offering durability.
Avoid regular writing inks, as they may bleed or be too thin to hold proper shape in strokes.
3. Paper: The Canvas of Expression
Choosing the right paper ensures that your ink flows smoothly and doesn’t feather. Here’s what to look for:
- Smooth Surface: Especially important for pointed pen styles. Bristol board and hot-press watercolor paper are excellent choices.
- Absorbency: Too absorbent, and your ink will spread. Not absorbent enough, and it may sit awkwardly on the surface. Test your ink-paper combo.
- Guideline Sheets: For practice, using guidelines beneath translucent paper helps maintain angle, spacing, and consistency.
4. Accessories That Make a Difference
- Rulers and T-squares: Essential for drawing guidelines, borders, or aligning text.
- Lightbox: Helps trace guides beneath thick paper.
- Blotting paper: Useful for drying ink without smudging your work.
- Cleaning cloths: Ink builds up quickly — clean your nibs regularly to keep lines sharp.
Conclusion: Start with Intention, Grow with Tools
In traditional calligraphy, tools are more than just supplies — they shape your technique, discipline, and final outcome. Investing in quality materials not only improves your results but deepens your appreciation for the art form.
Start with the basics. Learn how each tool behaves. And most importantly, enjoy the process of discovering what suits your personal rhythm and style.